

Favourites

Account

Basket
VAT:
Ex
Inc


Over time, some radiators can develop various faults, with some issues becoming a common occurrence in many households. Such problems with these heating solutions can often lead to discomfort and frustration. So, knowing how to identify and solve these problems can save you time and money in the long run.
Fortunately, it’s possible to troubleshoot many common issues with a few simple steps. Three of the most common issues some homeowners can experience with radiators over time include cold radiators, noisy radiators, and leaky radiators.
Here, our plumbing and heating experts at City Plumbing help you troubleshoot these most common issues while providing practical and simple solutions to keep your home warm and cosy.
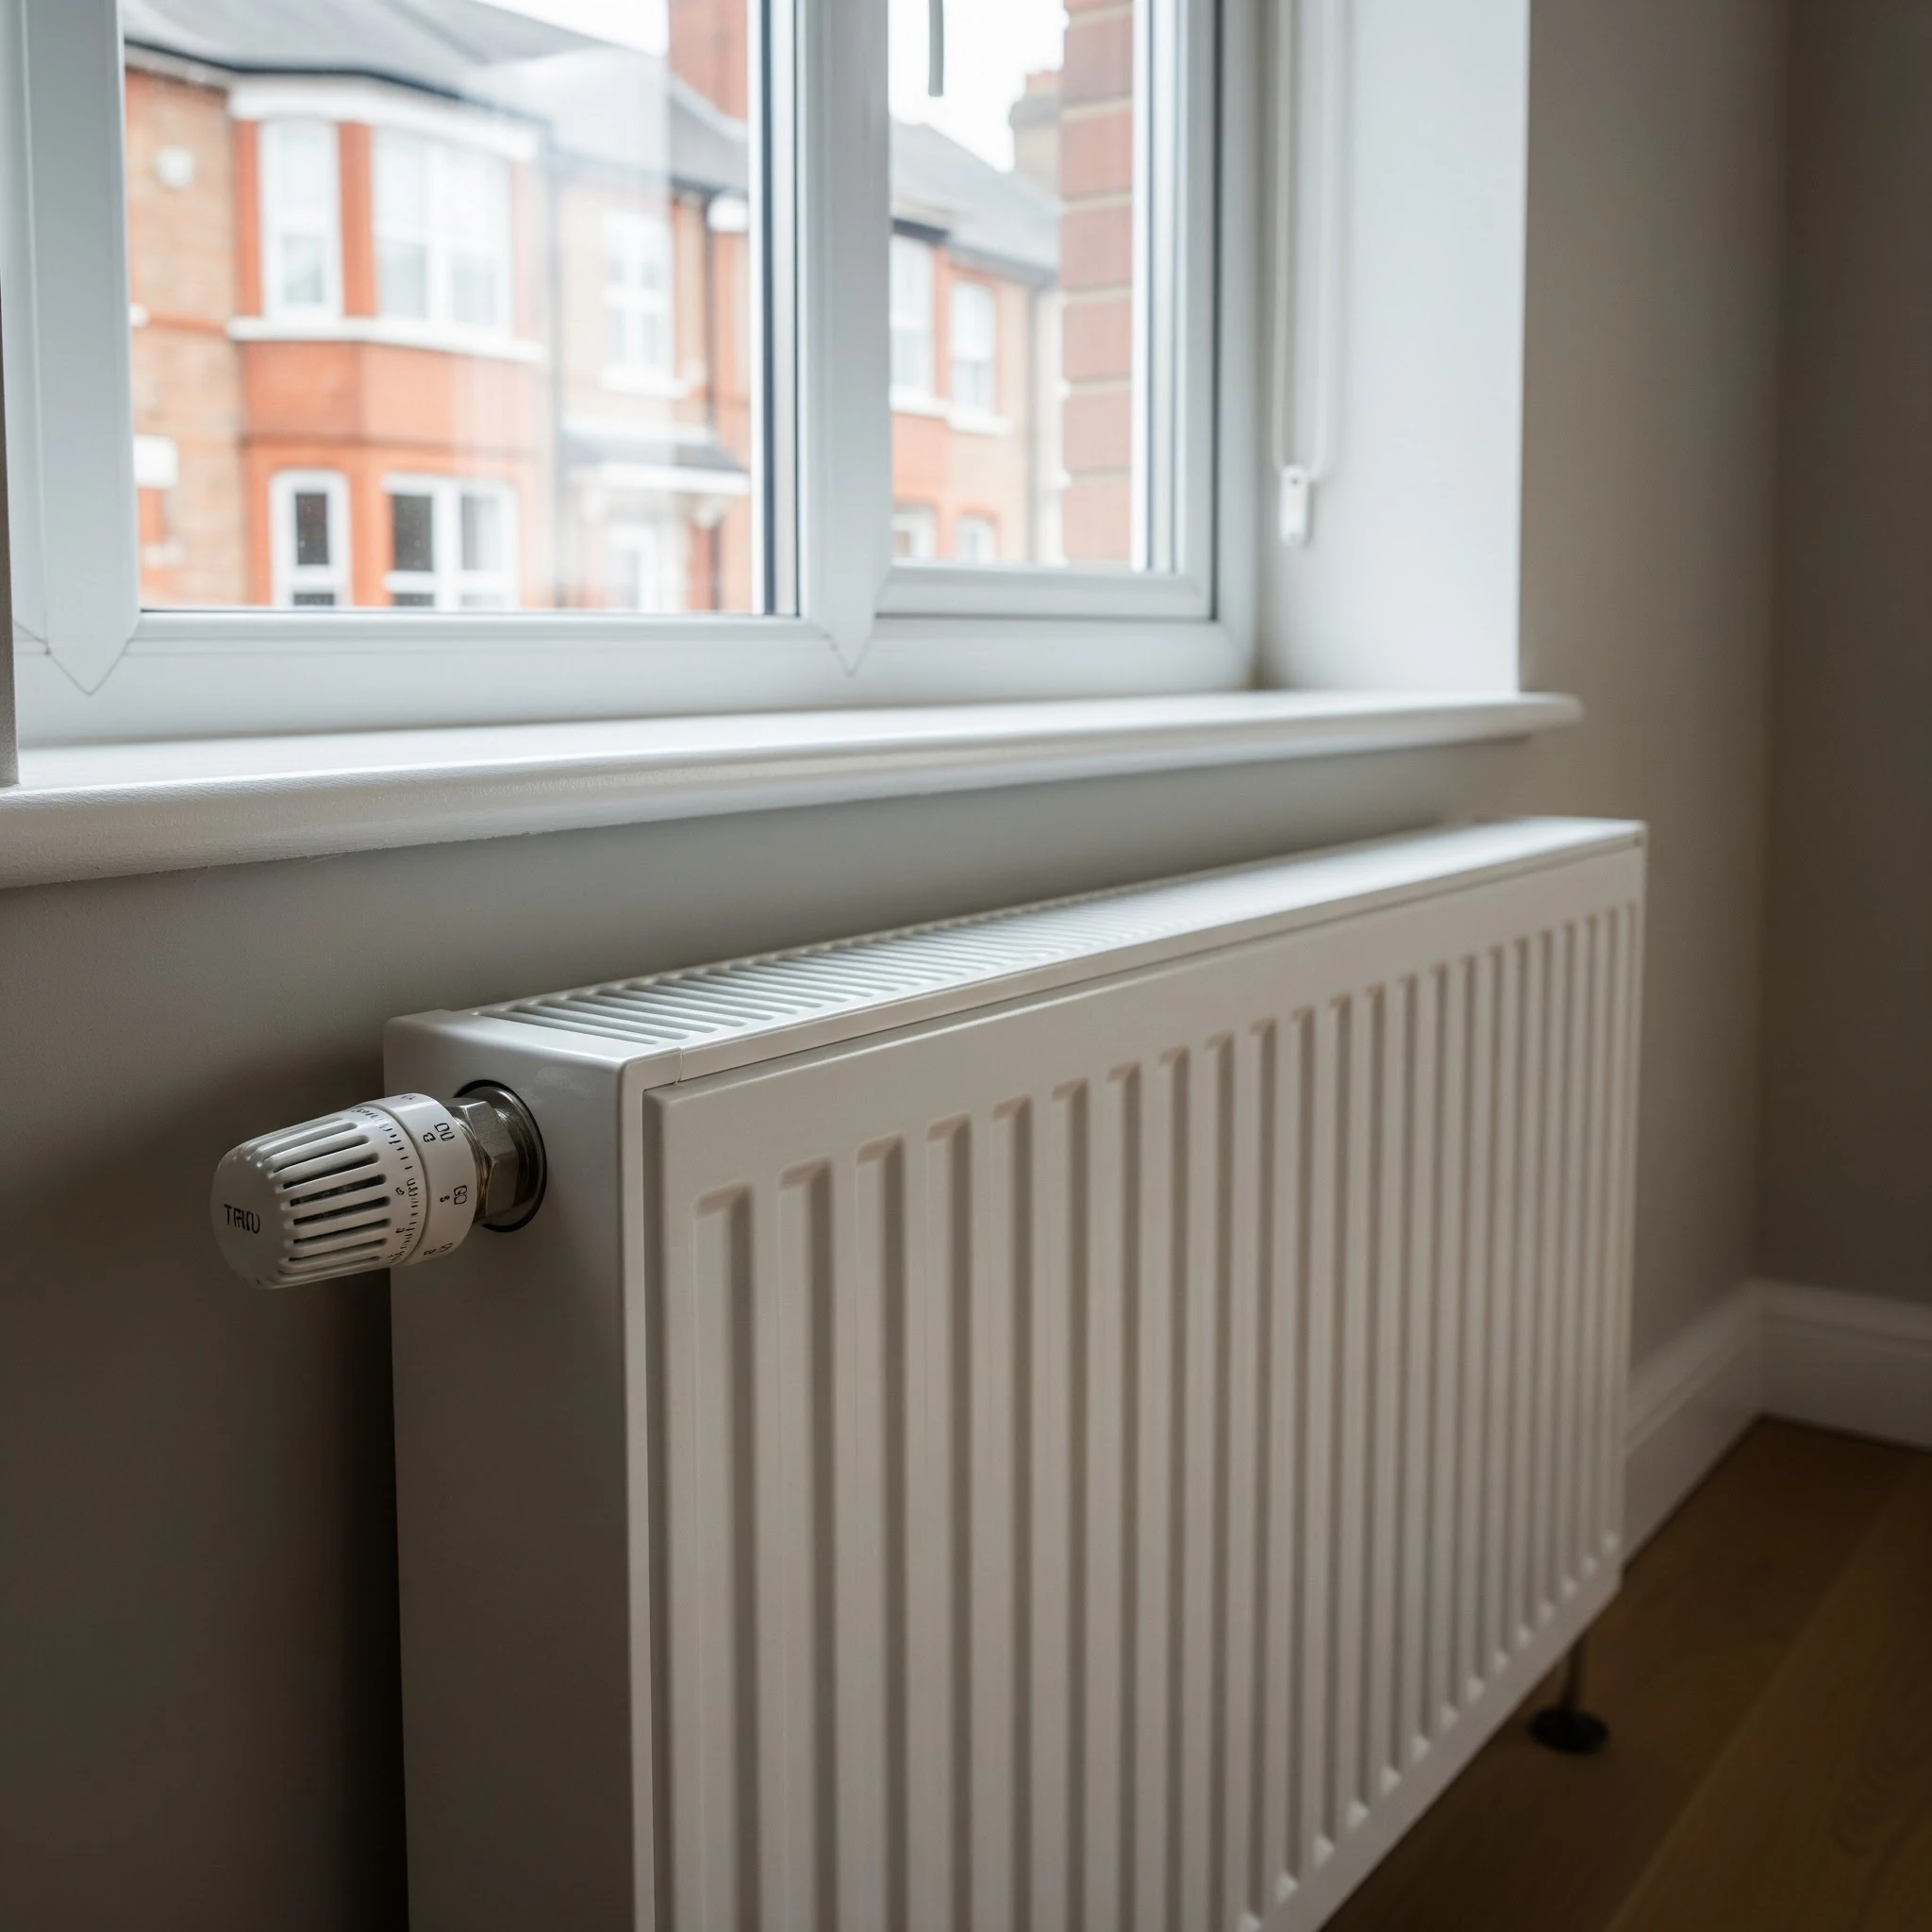
Cold Radiators, Cold Spots, and Uneven Heating
Dealing with a cold or partially cold radiator is a common heating issue. The solution depends on where the cold spot is located.
Before you start: Always turn off your central heating system and let the radiators cool down completely. Have a towel or bucket handy to catch any water.
Cold at the Top, Warm at the Bottom
This is the most common radiator problem and is a strong indicator of trapped air. Since air is lighter than water, it rises and collects at the top of the radiator, preventing hot water from circulating properly.
How to Fix:
- Bleed the radiator. Using a radiator key, slowly turn the bleed valve (usually a small, square or slotted screw at the top of the radiator) counter-clockwise.
- Listen for the air. You will hear a hissing sound as the trapped air escapes.
- Wait for water. Once the hissing stops and water begins to trickle out, close the valve by turning it clockwise.
- Check your boiler pressure. Bleeding radiators can lower the pressure in your system. Check the pressure gauge on your boiler and top it up to the manufacturer's recommended level (typically between 1 and 1.5 bar).
Cold at the Bottom, Warm at the Top
This issue is typically caused by sludge buildup (a mix of rust and debris) at the bottom of the radiator. Sludge is heavier than water and settles at the lowest point, blocking the flow of hot water.
How to Fix:
- Individual Radiator Flush: For a single radiator with this issue, you can attempt to flush it yourself.
Isolate the radiator: Turn off both the thermostatic radiator valve (TRV) and the lockshield valve.
Drain the radiator: Place a bucket underneath the radiator and use a spanner to loosen the nuts connecting it to the valves. Let all the water drain out.
Remove and flush: Disconnect the radiator from the wall brackets and take it outside. Use a garden hose to flush out the sludge. Blast water in one end and watch for the dirty, black water to come out the other. Continue until the water runs clear.
Reinstall and refill: Reattach the radiator, open the valves, and bleed the radiator to release any new air that entered the system.
- Full System Power Flush: If multiple radiators are cold at the bottom, your entire system may be suffering from sludge. This requires a professional power flush, where a special machine and chemicals are used to clean out all the pipes and radiators. This is a job for a qualified plumber or heating engineer.
One Radiator Is Completely Cold
If a single radiator is not heating up at all while the others are working, the problem is usually isolated to that specific radiator.
How to Fix:
- Check the valves: Ensure both the TRV and the lockshield valve are fully open. The TRV should be turned to a high setting (e.g. 5), and the lockshield valve may need to be opened with a spanner.
Check for a stuck TRV pin: The pin inside the TRV can sometimes get stuck in the closed position.
Unscrew the plastic head of the TRV.
You will see a small pin. It should be protruding slightly. If it's pushed in, give it a few gentle taps with a spanner or a pair of pliers to loosen it. It should spring back up.
- Bleed the radiator: As with a cold-at-the-top radiator, air could be trapped, preventing water from entering.
- Balance the system: If the cold radiator is the one furthest from the boiler, your system might be unbalanced. This means hot water is reaching the closest radiators first and not circulating to the others. You can balance the system by partially closing the lockshield valves on the radiators closest to the boiler, forcing more water to the furthest ones. This is a more technical fix and often best handled by a professional.
All Radiators Are Cold
If your boiler is running but none of the radiators are heating up, the issue is not with the radiators themselves but with the overall heating system.
How to Fix:
- Check your boiler pressure: Low pressure is a very common cause of this problem. If the pressure gauge is below 1 bar, you need to repressurise the system using the boiler's filling loop. The process varies by boiler model, so consult your manual.
- Check the thermostat and timer: Ensure your thermostat is set to a temperature higher than the room temperature and that the heating is scheduled to be on.
- Check for a faulty pump: The circulation pump is responsible for moving the hot water around the system. If it's not working, the water will stay in the boiler. If you hear a grinding noise from the pump or it's not vibrating when the heating is on, it may need to be replaced by an engineer.
- Check the diverter valve: In a combination boiler, the diverter valve switches between heating the radiators and providing hot water for taps. If it's stuck on the hot water setting, the radiators won't heat up. This is a job for a professional.
Noisy Radiators
Noisy radiators are a common problem, but the type of noise often points to the solution. Here's a breakdown of the most frequent radiator noises and how to address them.

Gurgling Noises
Gurgling or bubbling sounds are almost always caused by trapped air in your heating system. When air gets into the pipes, it prevents the hot water from circulating properly, creating gurgling noises and often leaving the top of the radiator feeling cold.
How to Fix:
- Turn off the heating. It's important to let the system cool down completely.
- Use a radiator key to open the bleed valve, which is usually a small round or square hole at the top corner of the radiator.
- Hold a bucket or a rag under the valve to catch any water.
- Slowly turn the key counter-clockwise. You should hear a hissing sound as the air escapes.
- Close the valve as soon as water starts to come out steadily.
- You may need to re-pressurise your boiler after bleeding all the radiators in your home. Check the pressure gauge on your boiler and top it up to the manufacturer's recommended level, typically between 1 and 1.5 bar.
Clicking or Creaking
This noise is usually caused by thermal expansion. As the radiator and its pipes heat up, the metal expands and can rub against its mounting brackets, floorboards, or other nearby surfaces. The creaking noise you hear is the sound of friction as the components move.
How to Fix:
- Locate the source. Try to identify where the sound is coming from. It's often where a pipe passes through a wall or floor.
- Give the pipes room. You may be able to cushion the pipe at the point of contact with a piece of foam, expanding foam insulation, or even a folded cloth. This can provide enough space to stop the rubbing.
- Secure loose brackets. Check that the radiator and any exposed pipes are securely mounted. A loose bracket can lead to more noise.
Loud Banging or "Kettling" Noise
A loud banging or knocking sound is a more serious issue that can be caused by "kettling", which is a buildup of limescale or sludge (rust and debris) inside your boiler's heat exchanger. This blockage causes the water to overheat and turn to steam before it can circulate, leading to a "kettle-like" rumbling or a loud banging as the steam bubbles implode.
How to Fix:
- For minor issues: Try draining the radiator to release any trapped water or air, which can sometimes provide a temporary fix.
- For a permanent solution: You will likely need a power flush of the entire heating system. This is a deep-cleaning process where a professional engineer uses a powerful machine and special chemicals to flush out all the sludge and limescale from the pipes and boiler. This improves system efficiency and stops the noise.
You should always consult a qualified professional for issues like kettling, as a power flush requires specialised equipment.
Leaks and Other Issues
A leaking radiator, even a small one, should be addressed quickly to prevent damage to your flooring and home. Leaks can occur at the valve connections, or a radiator might have developed a small hole from corrosion.
Leaks At The Valve Connections
This is one of the most common types of radiator leaks. The leak can be coming from a few places on the valve, including where the valve connects to the radiator, where it connects to the pipe, or from the valve spindle (the part you turn to open and close the valve).
How to Fix:
- Tighten the nut: The simplest solution is to use a spanner to gently tighten the leaking nut. Be careful not to overtighten, as this could damage the threads.
- Use PTFE (Plumber's) tape: If tightening doesn't work, you'll likely need to use PTFE tape.
Isolate and drain: Turn off both the manual/thermostatic valve and the lockshield valve on the radiator. Use a radiator key to open the bleed valve and drain any remaining water from the radiator into a bucket.
Remove and re-seal: Loosen and remove the leaking nut. You may need to replace the "olive" (a small brass ring that creates the seal) if it's damaged. Wrap PTFE tape (10-15 times) around the threads of the valve tail or the pipe's olive. Wrap it in the opposite direction of the tightening motion so the tape doesn't unravel as you screw the nut back on.
Reassemble and test: Re-tighten the nut, close the bleed valve, and open the radiator valves again. Check for leaks.
- For a leaking spindle: If the leak is coming from the gland nut (the nut below the plastic cap on a manual valve), you can often fix it by tightening it. If that doesn't work, you can loosen the gland nut, wrap a length of PTFE tape around the spindle, and then tighten the nut back up.
Leaks From The Bleed Valve
A leak from the bleed valve is often a sign that it is loose or the seal is worn out.
How to Fix:
- Tighten the valve: Use a radiator key or a screwdriver to tighten the bleed valve by turning it clockwise. This is often enough to stop a minor leak.
- Replace the bleed valve: If tightening doesn't work, you'll need to replace the bleed valve.
Isolate and drain: Follow the same steps as above to turn off the radiator and drain it to a level below the bleed valve.
Remove the old valve: Use an adjustable spanner or screwdriver to unscrew the old bleed valve.
Install the new valve: If the new valve has a rubber washer, you can install it directly. If not, wrap PTFE tape around the threads before screwing it into the radiator by hand, and then tighten it with a spanner.
Reassemble and test: Open the valves to let the radiator refill. Bleed the radiator again to release any trapped air and check for leaks.
Leaks From The Radiator Body
A leak from the radiator body itself is usually caused by corrosion, which can lead to a small hole or crack.
How to Fix:
- Pinhole leaks: For a very small pinhole leak, you can use a temporary sealant.
- Drain the radiator: Isolate and drain the radiator completely.
- Clean and apply sealant: Dry the area around the leak thoroughly. Apply an epoxy putty or a specialised radiator leak sealer over the hole. Allow it to dry completely before refilling the radiator.
- Use a system sealant: Another temporary option for a sealed central heating system is to add a radiator leak sealer liquid to the system via the expansion tank. The sealant circulates and seals minor internal leaks. Note: This is not a permanent solution and may not be suitable for all systems.
- Replacement: Unfortunately, if the leak is from the radiator body, especially if it's due to extensive corrosion or a larger crack, the only permanent solution is to replace the entire radiator. The temporary fixes will only hold for so long, and the underlying corrosion will continue to worsen.
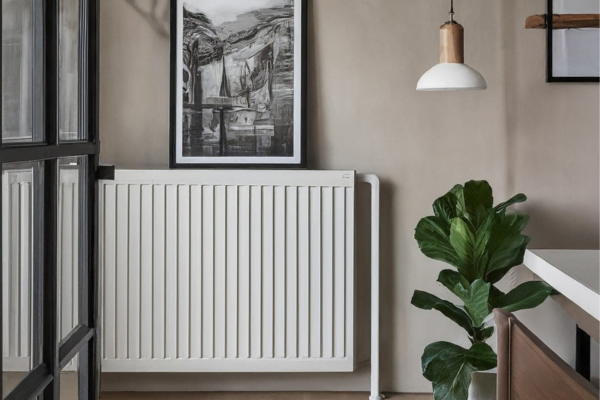
Buy New Radiators From City Plumbing
City Plumbing offers a diverse selection of radiators to suit various needs, styles, and room sizes. Stocking a range of popular types such as double panel radiators and single panel radiators, as well as reputable radiator brands, including Stelrad and Purmo to name just a few, if you’re thinking about upgrading or replacing your current radiators, we have the perfect heating solution for you.
If you’re looking for helpful advice and suggestions on choosing the best heating solutions for your home, take a further look at the City Plumbing website for more information.
Help & Feedback
 Chat With Us
 Give Us Feedback