



Favourites

Account

Basket
VAT:
Ex
Inc


There is nothing quite as frustrating as the relentless sound of a dripping tap. But beyond the annoyance, that steady drip rarely fixes itself and can waste thousands of litres of water a year, quietly pushing up your utility bills. The good news is that you don't necessarily need to call out a professional just yet. A dripping tap is almost always caused by a simple worn internal component, such as a hardened rubber washer in traditional taps or a cracked ceramic disc in modern designs. In this comprehensive guide, we will walk you through exactly how to identify your tap type, gather the right tools, and carry out a safe, lasting repair to get your sink watertight once again.
Why taps start dripping and when to repair them
A dripping tap is one of the most common household plumbing complaints, and it rarely fixes itself. If you've been asking why your kitchen tap is dripping, the answer almost always lies in a worn internal component. Traditional taps rely on a rubber washer that hardens and splits with age, while modern designs use ceramic discs that can crack or become clogged with limescale over time.
A tap dripping when off shouldn't be ignored, however minor it seems. A steady drip can waste thousands of litres of water a year, pushing up utility bills and, in persistent cases, contributing to damp around the sink area. Identifying where the drip originates helps diagnose the fault: water escaping from the spout usually points to a failed washer or cartridge, while moisture around the handle suggests a worn O-ring. Addressing the problem early keeps the tap-leakage repair simple and inexpensive.
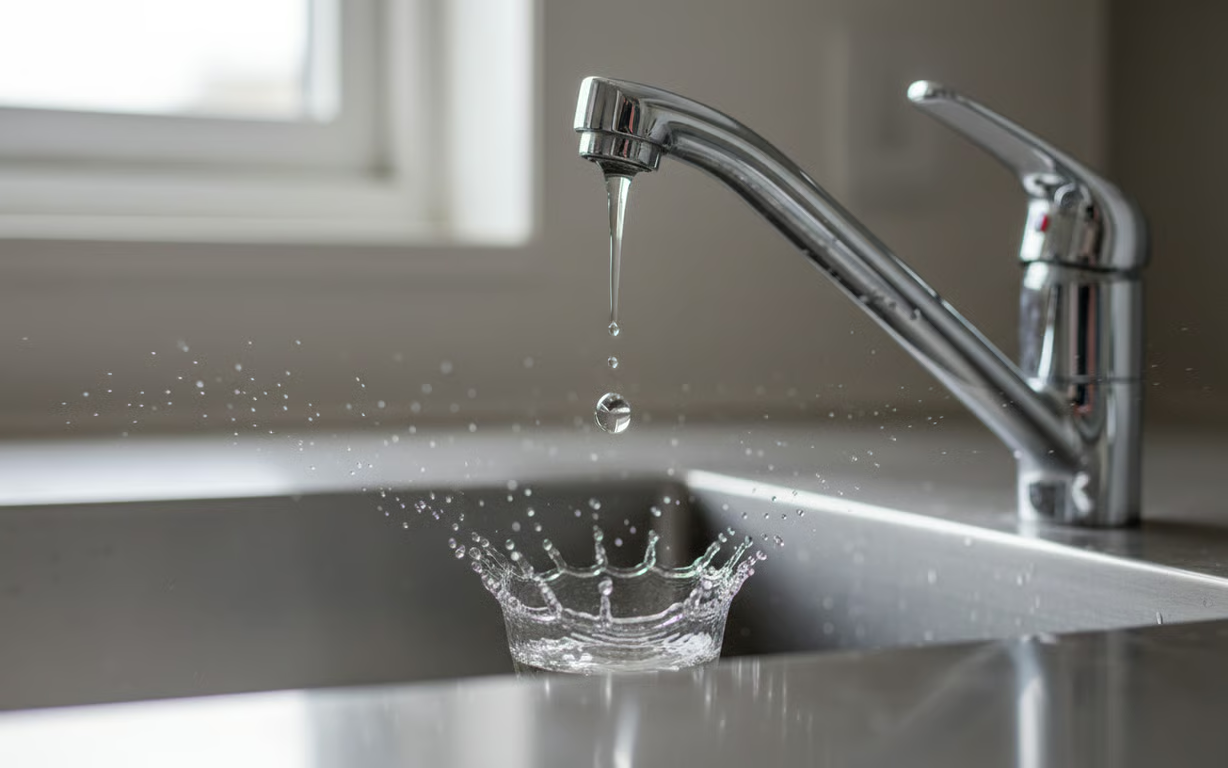
Tools and Materials Needed for Dripping Tap Repair
Gathering the right equipment before starting your dripping tap repair saves time and prevents mid-job trips to the hardware shop. Whether the task is a straightforward tap washer replacement or you need to fix bathroom tap assemblies with a ceramic cartridge, having these items ready makes the job far smoother:
- Adjustable spanner or basin wrench: For loosening and tightening valve nuts and retaining fittings.
- Flat-head and cross-head screwdrivers: For removing decorative caps, grub screws, and handle fixings.
- Allen (hex) keys: For grub screws found on many modern tap handles.
- Replacement parts: Matching rubber washers, O-rings, or a ceramic cartridge suited to your tap make and model.
- PTFE thread seal tape and silicone lubricant: For sealing threads and protecting rubber components during reassembly.
- Soft cloth or towel: To protect the tap's finish and plug the plughole during the repair.
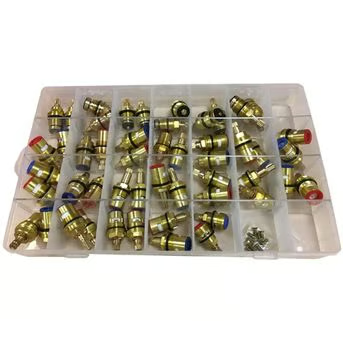
Traditional Compression Tap
- How to Identify: Requires several full turns of the handle to open and close.
- Common Fault: Hardened or split rubber washer.
- Typical Fix: Replace rubber washer.
Ceramic Disc (Quarter Turn) Tap
- How to Identify: Opens and closes with a 90-degree twist.
- Common Fault: Cracked, scaled, or worn ceramic discs.
- Typical Fix: Replace complete cartridge.
Single-Lever Mixer Tap
- How to Identify: One lever controls both hot and cold simultaneously.
- Common Fault: Worn internal cartridge.
- Typical Fix: Replace cartridge.
Traditional compression taps need several full turns of the handle to open and close, and they rely on a compressible rubber washer. By contrast, if a quarter-turn tap is dripping, it points to a ceramic disc design , where two discs rotate against each other to control flow with just a 90-degree twist. If you notice a ceramic disc tap dripping, the cartridge itself is usually cracked, scaled up, or worn and needs replacing as a complete unit rather than repaired piecemeal.
Single-lever designs are also common, particularly in kitchens. A mixer tap dripping from a single lever typically has one internal cartridge controlling both hot and cold water. Getting the diagnosis right matters because UK tap components are not universally standardised, so matching the exact make and size of replacement part is critical to a lasting repair.
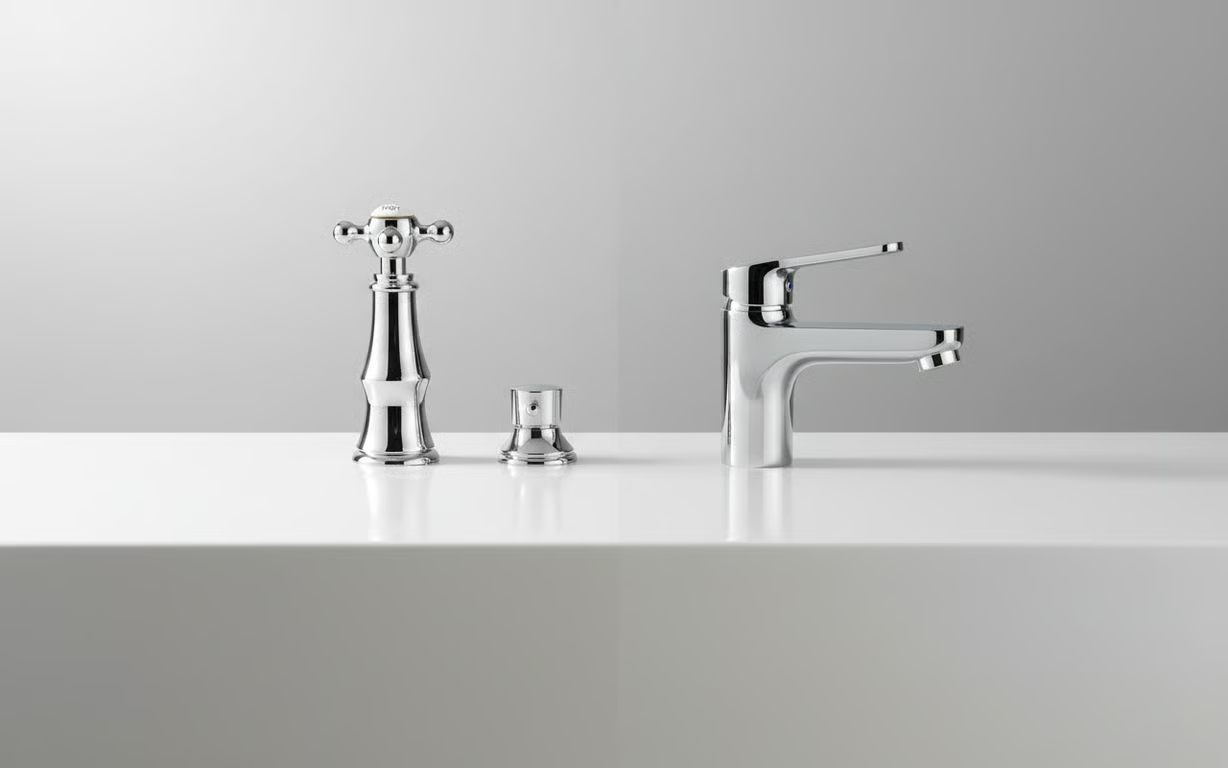
How to Stop Dripping Taps - Turning Off The Water Supply
Steps to safely isolate the water supply
- Locate the isolation valves on the pipework directly beneath the sink and turn them clockwise using a flat-head screwdriver, or by hand if they have a twist lever.
- Turn off the main stopcock if no isolation valves are fitted - this is usually located under the kitchen sink or near the property's stop tap.
- Open the tap fully to drain any remaining water and release pressure in the system.
This step is the essential foundation for stopping dripping taps and repairing leaking taps safely and without mess.
How to Change a Tap Washer in Traditional Compression Taps
With the water supply isolated, you're ready to tackle changing a tap washer. Traditional compression taps use a small rubber seal to stop the flow of water, and a hardened, split, or perished dripping tap washer is by far the most common cause of the problem.
Here is how to safely swap out your tap washer:
- Remove the handle: Prise off the decorative cap (usually marked H or C) with a flat-head screwdriver, then undo the exposed screw underneath to lift the handle away. Unscrew any metal shroud or valve cover that remains.
- Extract the valve: Hold the tap body steady with one hand to avoid straining the pipework. Fit an adjustable spanner onto the hexagonal nut on the valve and turn it anti-clockwise to unscrew it, then lift the whole stem out.
- Swap the washer: At the base of the valve you'll find a small retaining screw or clip holding the rubber washer in place. Remove this, slide off the damaged washer, and fit an exact replacement matching the original diameter and thickness, typically half an inch for most basin taps.
- Reassemble: Thread the valve back into the tap body by hand first to avoid cross-threading, then tighten firmly with the spanner without overtightening. Refit the shroud, handle, and decorative cap.
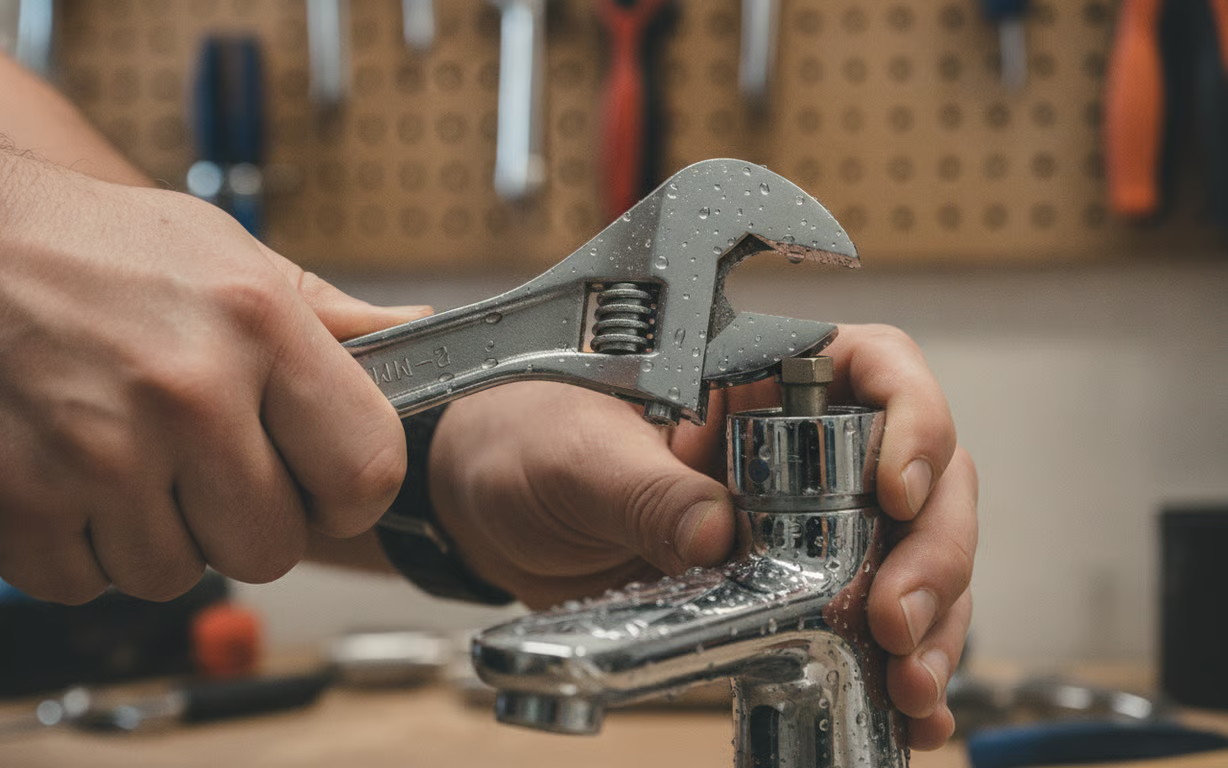
Fixing Ceramic Disc Tap Dripping Issues
If you have a quarter turn tap dripping, the fault lies with the internal ceramic discs rather than a traditional rubber washer. A dripping ceramic disc tap is usually caused by internal discs that have cracked, worn down, or become clogged with limescale deposits.
To resolve this type of fault, work through the following steps:
- Access the valve: Remove the decorative handle cap using a flat-head screwdriver or Allen key, then unscrew and lift the handle clear.
- Remove the cartridge: Use an adjustable spanner to loosen the hexagonal retaining nut, then lift the cartridge straight out of the tap body.
- Inspect and clean: Check the discs closely for chips or cracks. Wipe away any grime or limescale with a damp cloth, or replace the whole cartridge if the ceramic is visibly damaged. Note that hot valves typically have a red bottom seal, while cold valves have a blue one, so keep track of which is which.
- Reassemble: Fit the new or cleaned cartridge, tighten the retaining nut, and refit the handle securely.
Repairing Kitchen Mixer Taps Leaking From The Spout
When kitchen mixer taps are leaking from the spout, the cause is typically either a worn ceramic cartridge or a degraded O-ring at the base of the spout. If your mixer tap is constantly dripping from the spout, replacing the internal cartridge is the standard fix, following the same approach outlined above. However, if you spot a leaking kitchen tap spout specifically around its moveable base rather than the outlet itself, the rubber O-ring is the likely culprit.
Here is how to replace the O-ring if your kitchen tap is leaking around the base:
- Loosen the securing nut underneath the sink using a box spanner, then twist the tap body to face towards you for easier access.
- Remove the small grub screw located at the back of the spout using a screwdriver.
- Lift the spout upwards and away to expose the rubber O-ring seal at its base.
- Carefully prise off or cut away the worn O-ring, roll a matching replacement into position, then slot the spout back down, aligning the marker with the corresponding groove.
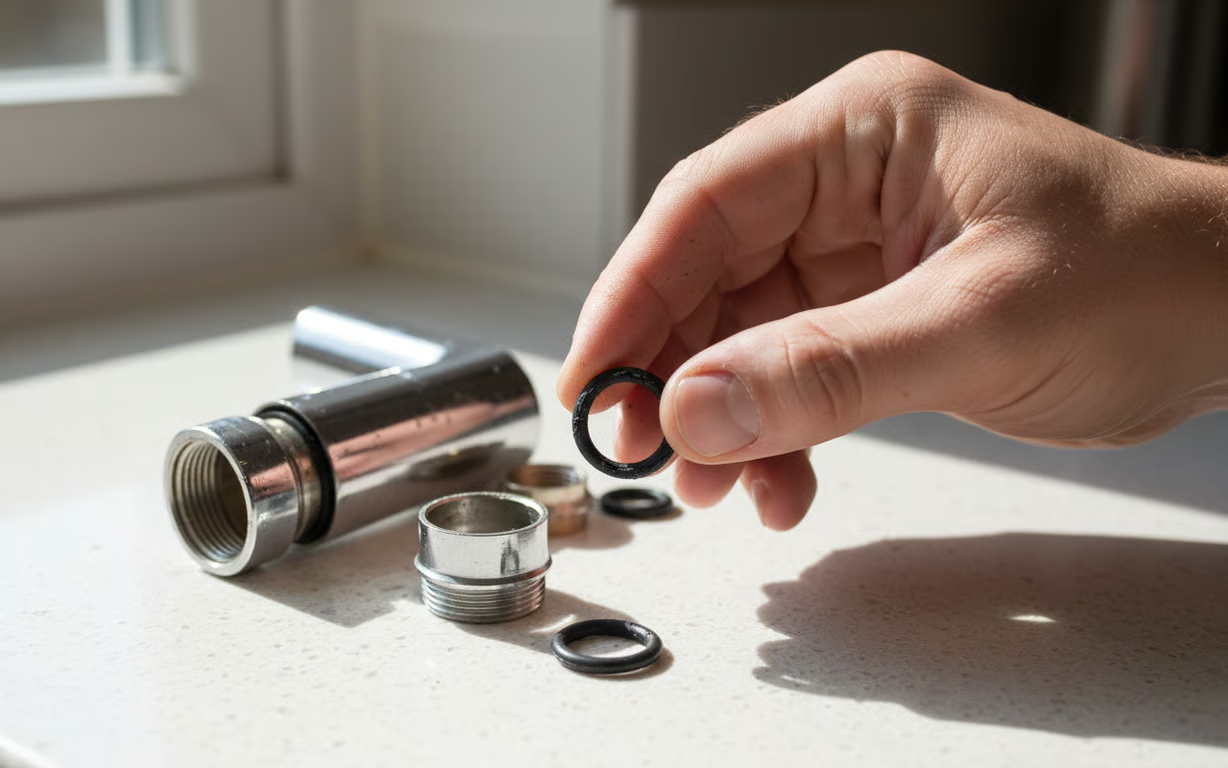
Fixing Leaking Bathroom Basin and Bath Taps
Addressing a leaking bathroom tap promptly helps prevent water waste and avoids potential damage to flooring or cabinetry beneath the sink. Whether you're tackling a basin tap or working out how to fix a dripping bath tap, the repair method depends largely on the valve type fitted.
- Bath taps (spout drip): Traditional bath taps typically use a larger three-quarter-inch washer to stop spout drips.
- Basin taps (spout drip): Basin taps usually take a half-inch washer size.
- Handle leaks (both types): If water is escaping from beneath the handle rather than the spout, replacing the valve's O-ring is the more likely solution.
- Replacement parts: Matching replacement parts exactly is essential when repairing bathroom taps, since sizing and thread patterns vary between manufacturers.
Reassembling Your Tap and Testing for Leaks
Steps to reassemble and test your tap repair
- Reassemble in reverse order: Refit all components in the exact reverse order to how they were removed.
- Avoid overtightening: Do not overtighten the valve or retaining nut, as excessive force can damage the new seals and cause fresh dripping almost immediately.
- Restore the water supply: Turn the water supply back on slowly to allow the system to repressurise gradually.
- Test the tap: Open and close the tap a few times to clear any trapped air from the pipework, then check for any remaining drips.
This final check ensures everything is watertight and your repair was a complete success.
When to Call a Professional Plumber
Most dripping tap repair jobs are well within reach of a confident DIYer, but certain situations call for professional help when weighing up how to fix a dripping tap.
- Cannot isolate the water supply: If you cannot safely turn off the water, do not proceed without professional assistance.
- Corroded tap body: A corroded or structurally compromised tap body requires specialist assessment.
- Damaged valve seat or stripped threads: Forcing damaged components rarely ends well and can worsen the fault significantly.
- Persistent drip after repair: If the drip continues even after replacing washers or cartridges, a qualified plumber can identify the underlying cause.
Help & Feedback
 Chat With Us
 Give Us Feedback